Managing Item Categories
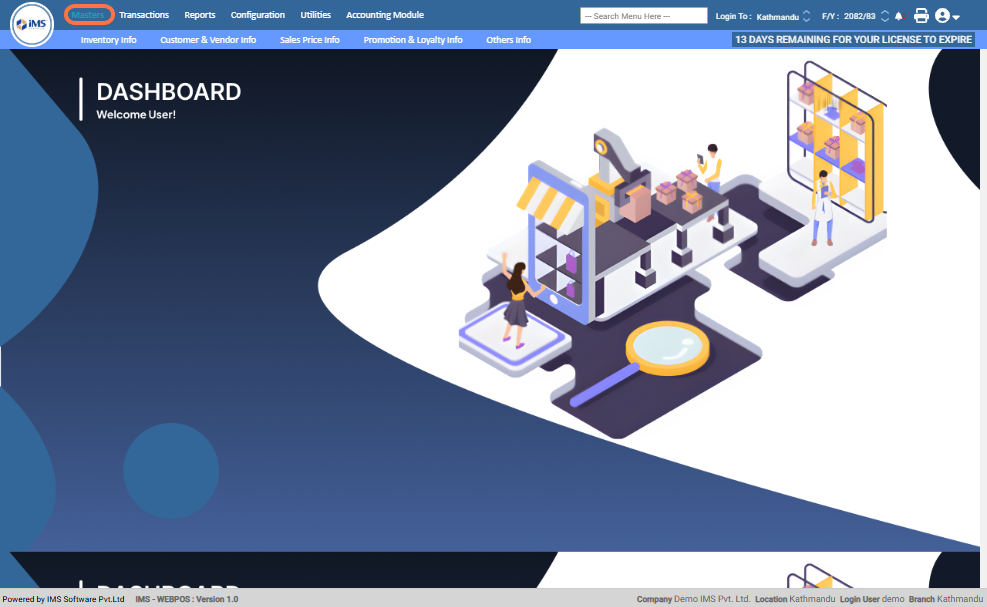
Step 1: Click on "Masters".
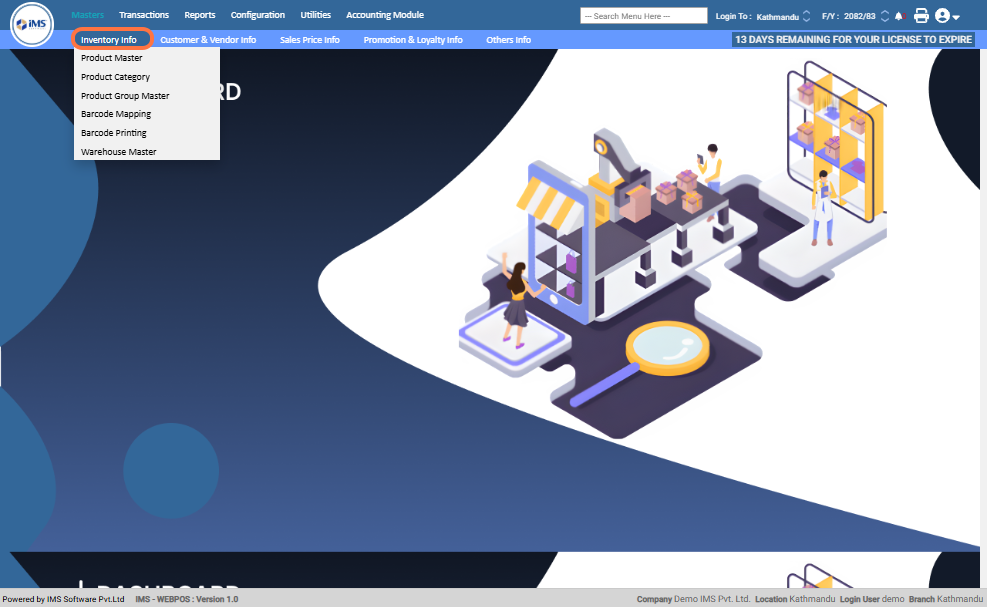
Step 2: Select Inventory Info.
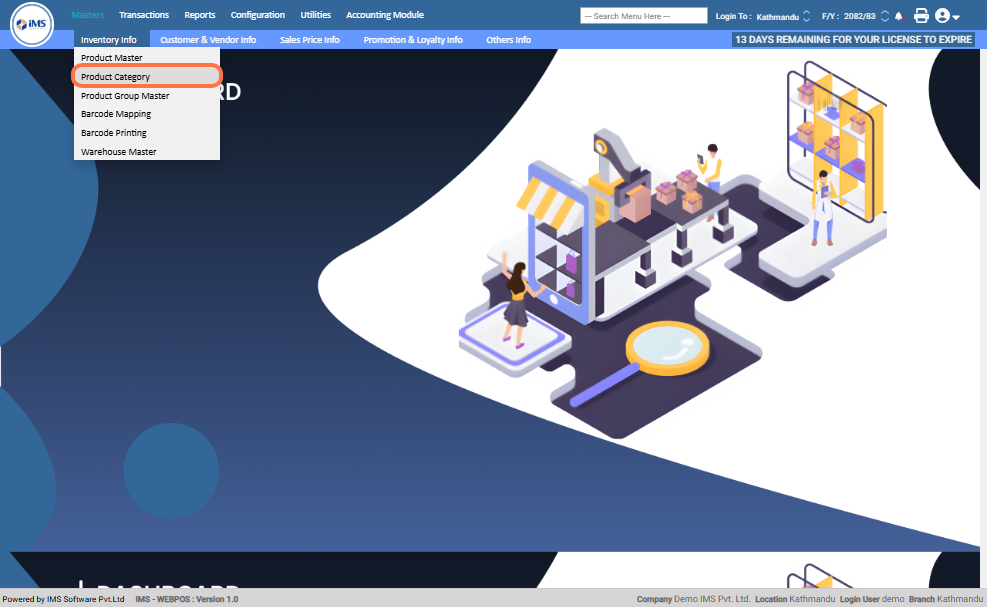
Step 3: Choose Item Category from the inventory options.
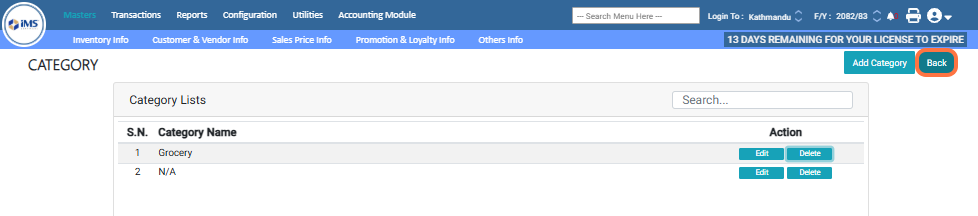
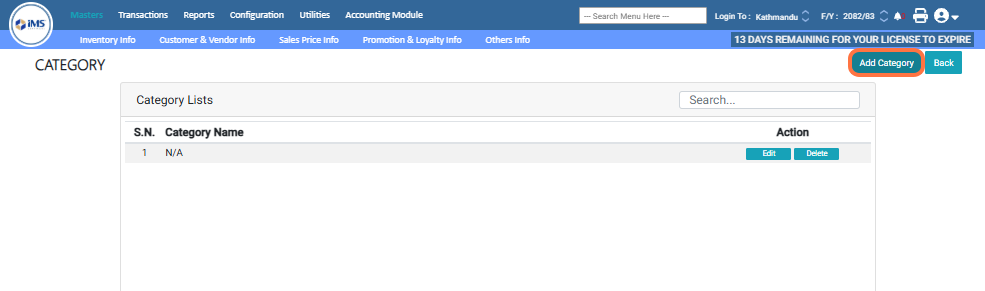
Step 4: Click the "Add Category" button to create a new category.
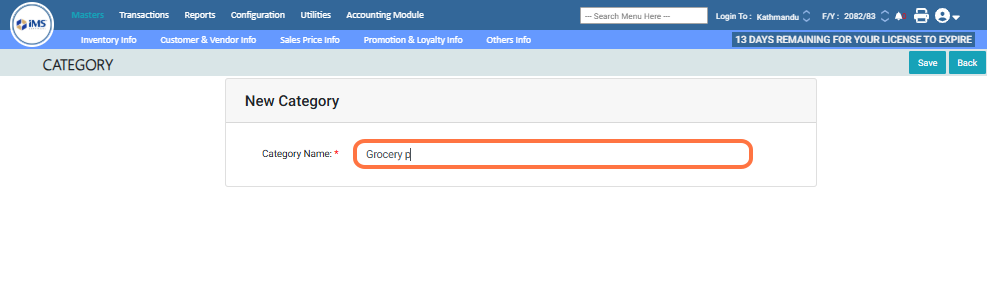
Step 5: Enter the category name (Example: Grocery).
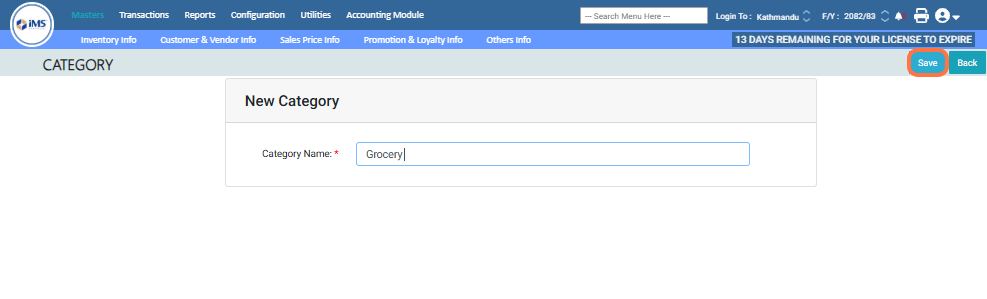
Step 6: Click "Save" to store the category.
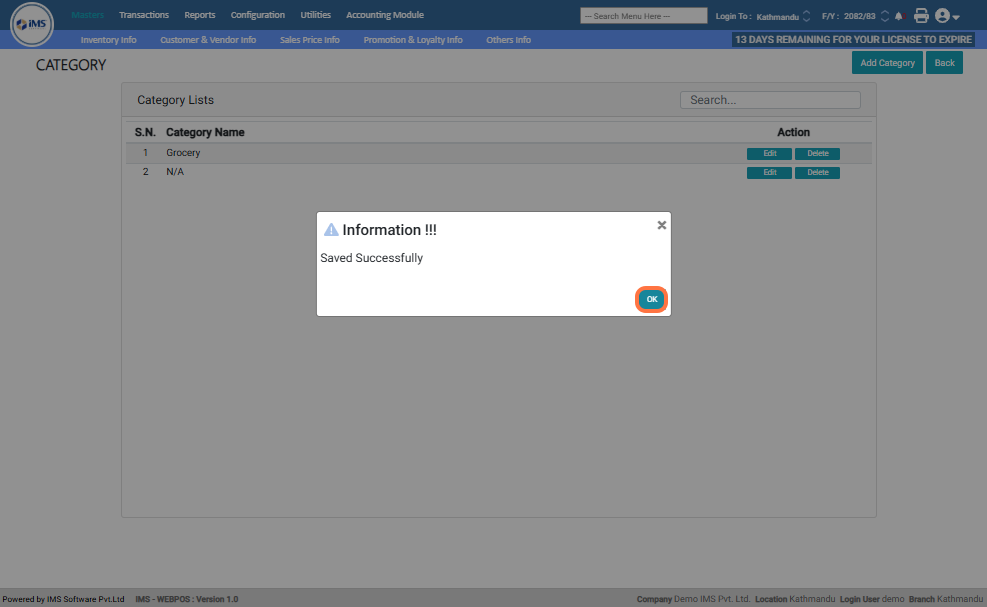
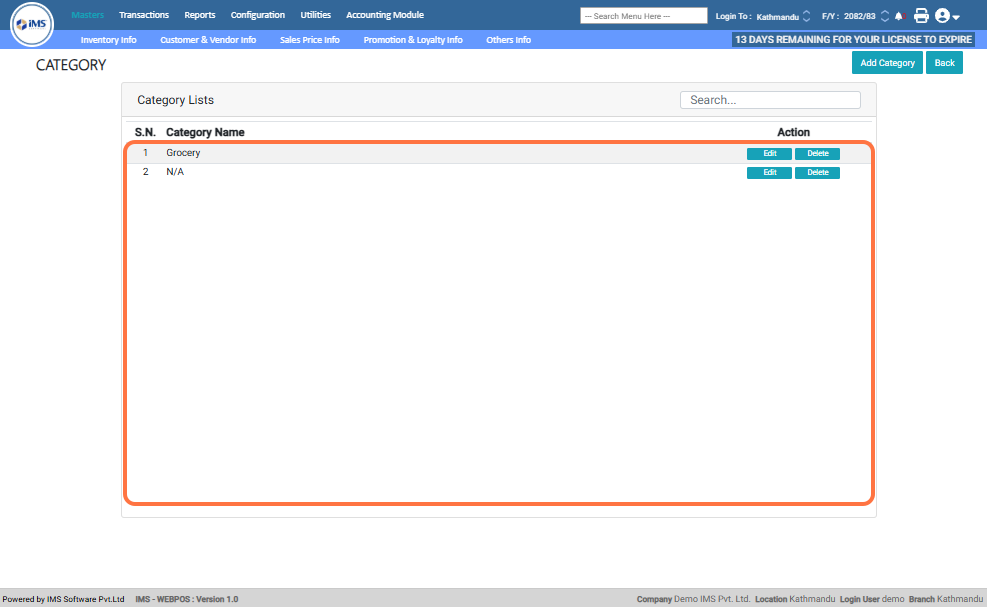
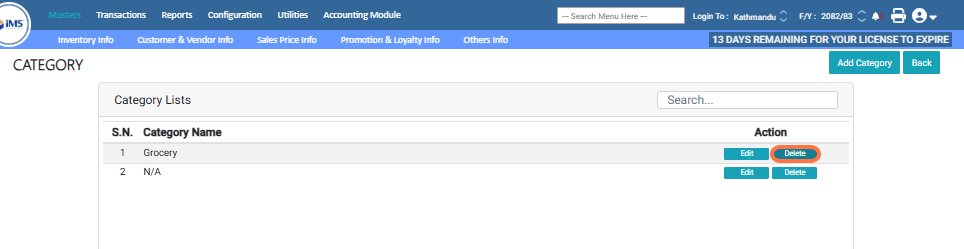
Step 7: Click "OK" when the "Saved Successfully" message appears. The new category will be displayed in the Category List table.
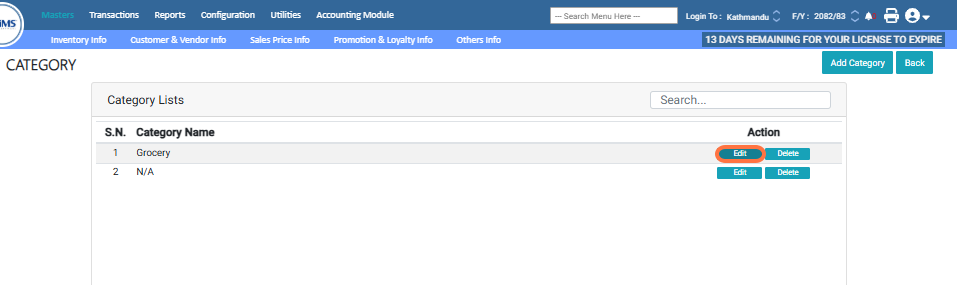
Step 8: You can edit or delete the category anytime.
Step 9: To Edit a category, click "Edit".
Step 10: Update the category name as needed.
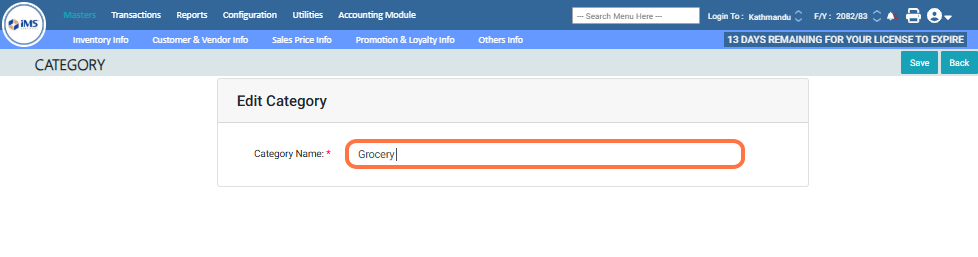
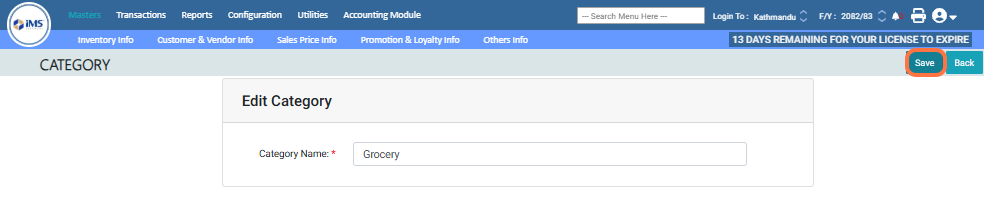
Step 11: Click "Save" to confirm the changes.
Step 12: To remove a category, click "Delete", then click "OK" to confirm or "Cancel" to cancel the action.
Step 13: Click the "BACK" button to return to the main dashboard.