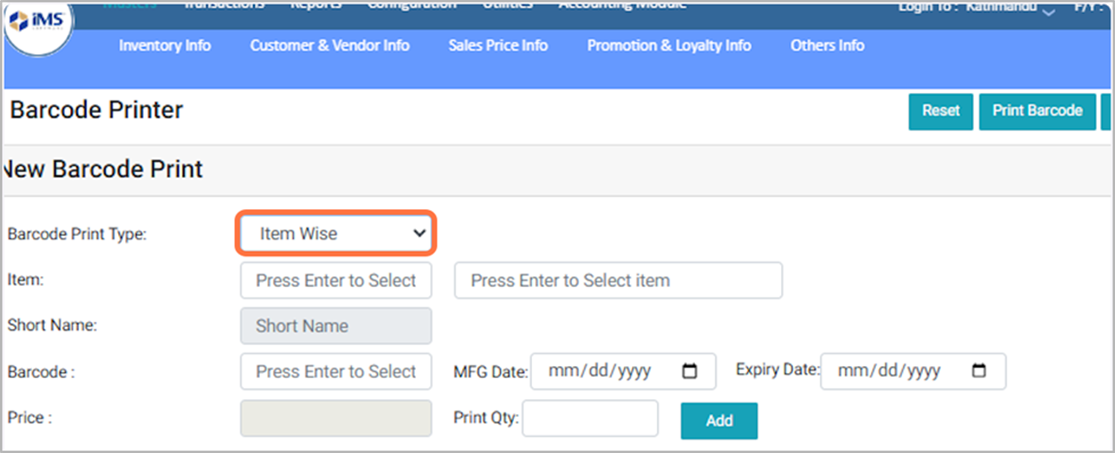
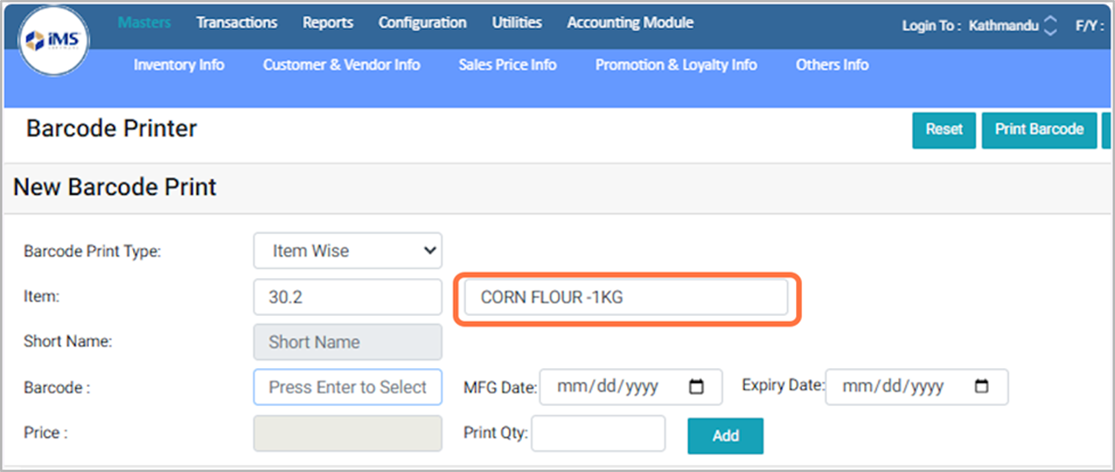
4. Select the barcode print type based on your requirement from the available options. Each option allows you to generate barcodes according to different transaction or stock criteria, such as Item-wise, Purchase Bill-wise, Barcode-wise, Transfer-in-wise, Batch-wise, Production Entry-wise, or Repack-wise, ensuring accurate and flexible barcode printing as needed. For E.G: Item wise
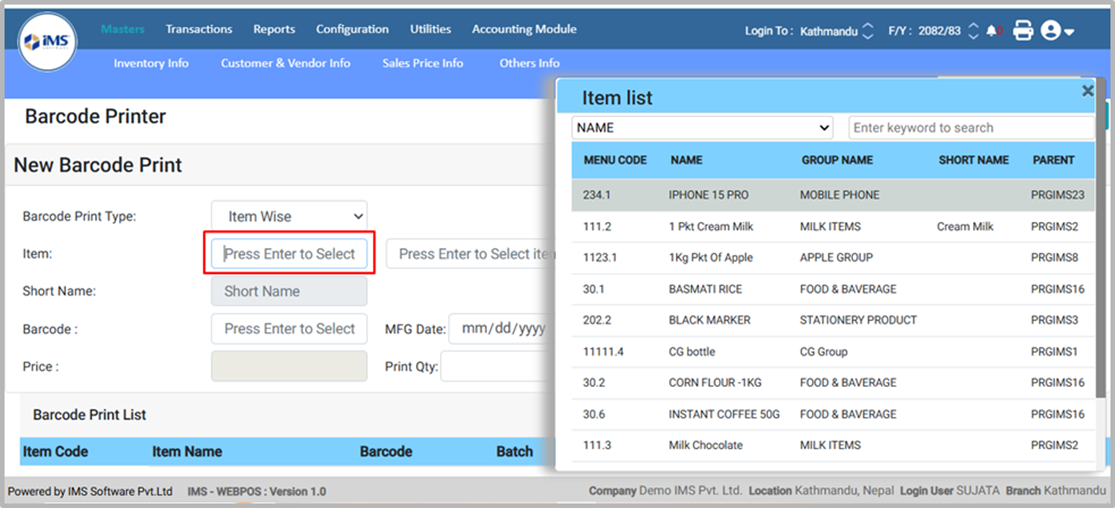
5. For item selection, press Enter and choose the required item from the item list.
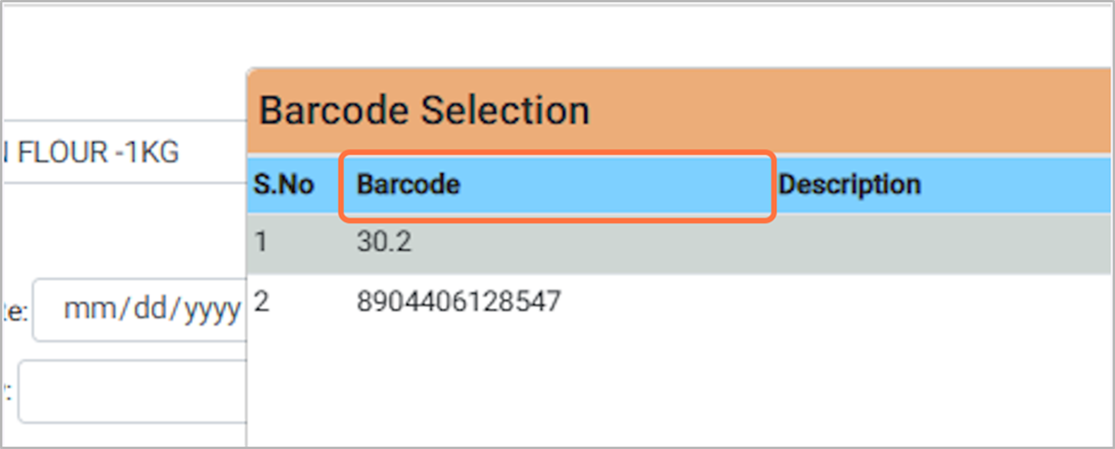
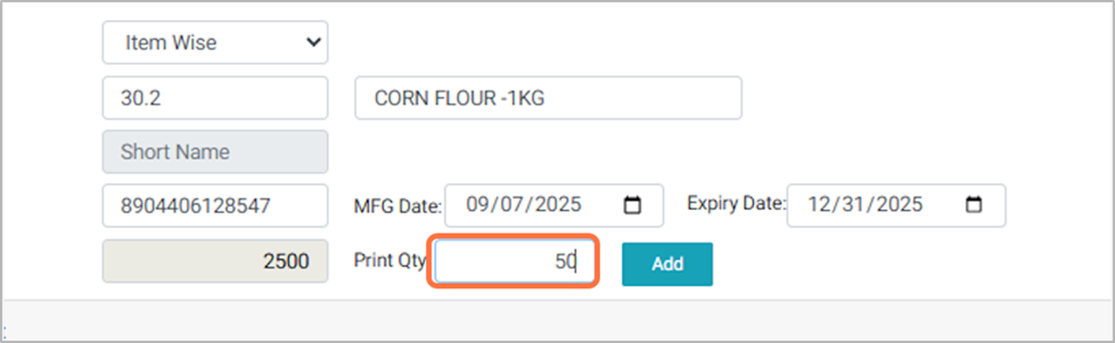
7. In the Barcode field press enter and Select the barcode from the Barcode list for Eg: 8904406128547
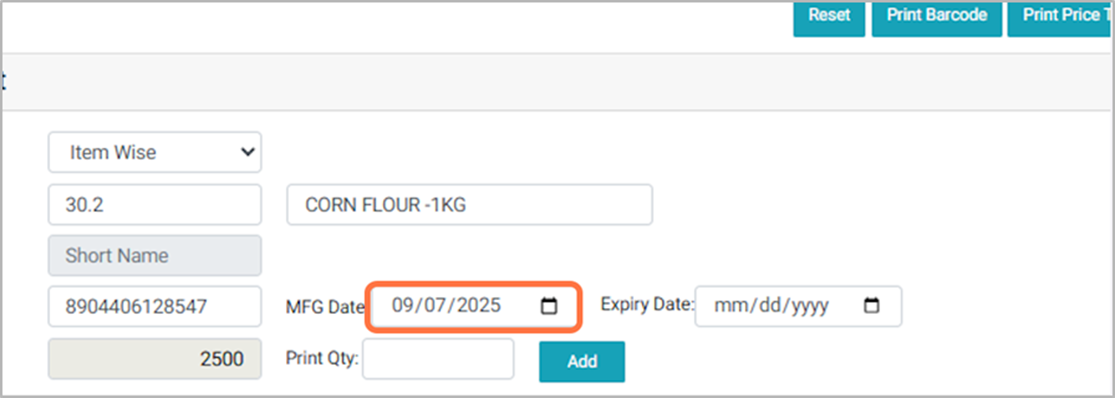
8. Choose the MFG date of the item. For Eg: 2025-09-07
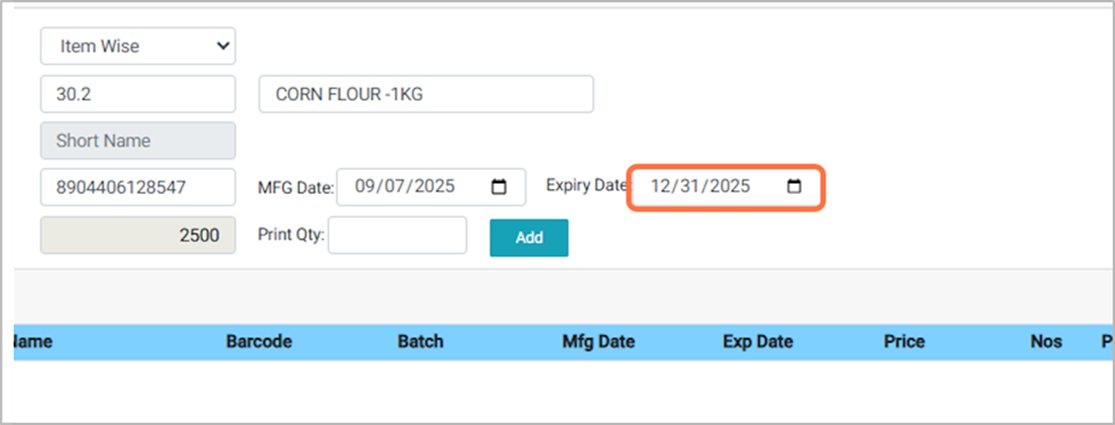
9. Choose the item expiry date For Eg: 2025-12-31
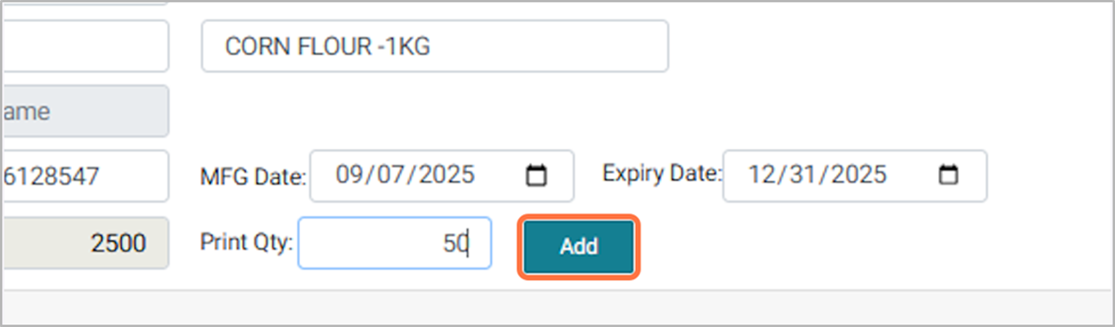
10. Enter the Print Qty to set the total number of barcode labels the system will print for the selected item or transaction. For Eg: 50
11. Click the Add button to add the item to the barcode printing list.
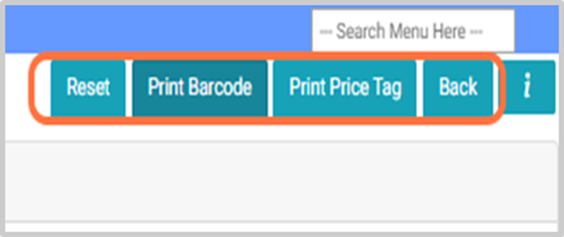
12. Button Functions: Reset: Clears all fields so you can start a new barcode entry. Print Barcode: Prints the barcode label based on the entered print quantity. Print Price Tag: Prints a price tag label that includes item name, price, and barcode. Back: Returns to the previous screen or main menu.