Steps to Add And Edit New Role in the Software
The Role List is a collection of predefined user roles within the IMS system. Each role defines a set of permissions and access rights that determine what a user can view, create, edit, or delete in the software.
Steps to Add And Edit New Role in the Software:
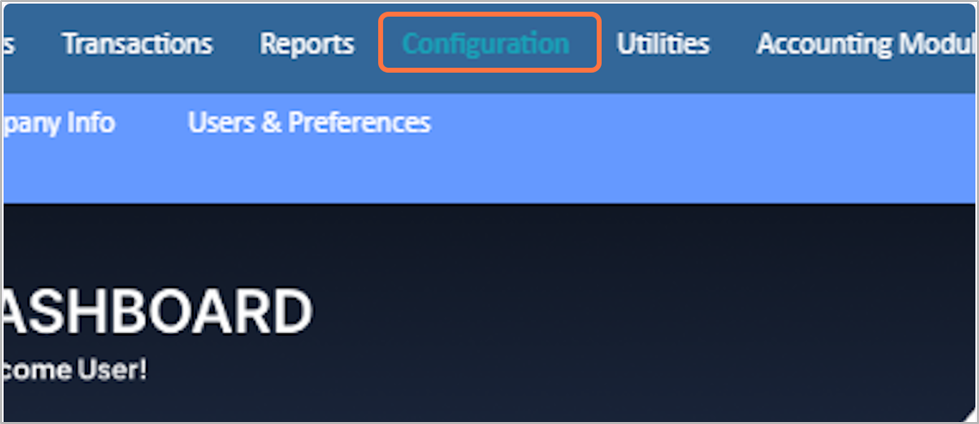
1. Go to the Configuration
2. Click on Users & Preferences
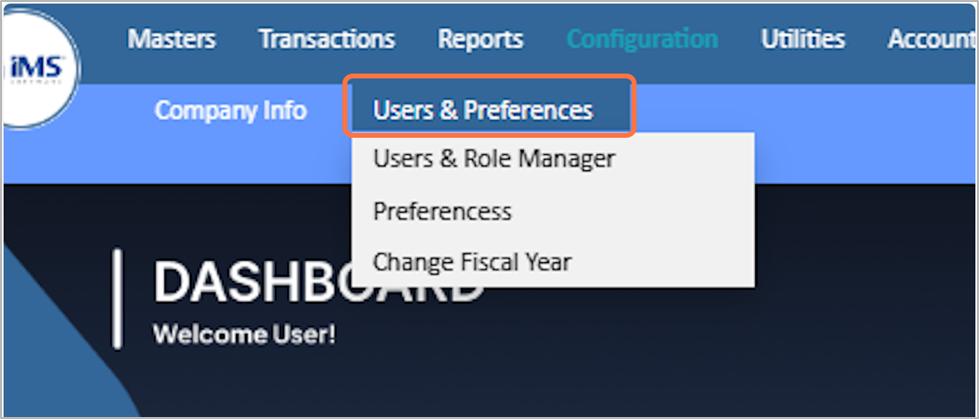
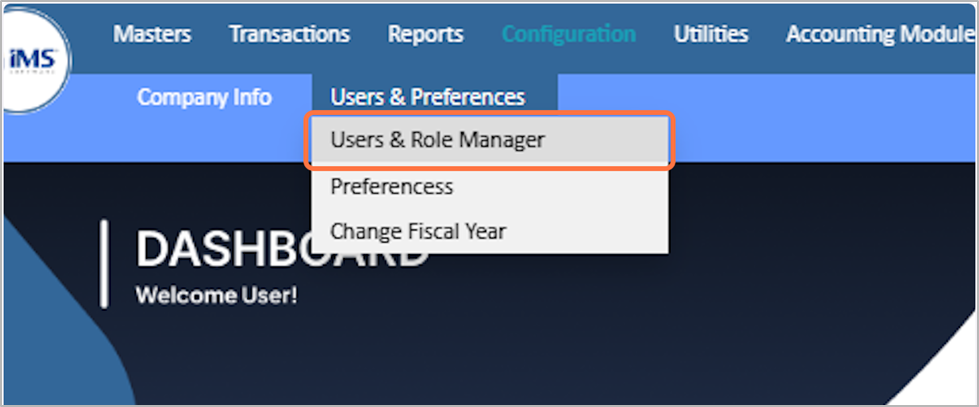
3. select the Users & Role Manager from the dropdown menu
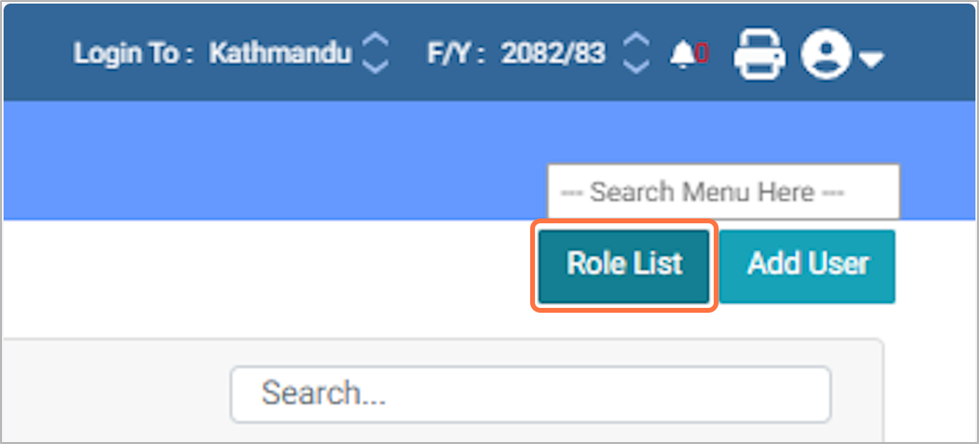
4. Click on Role List
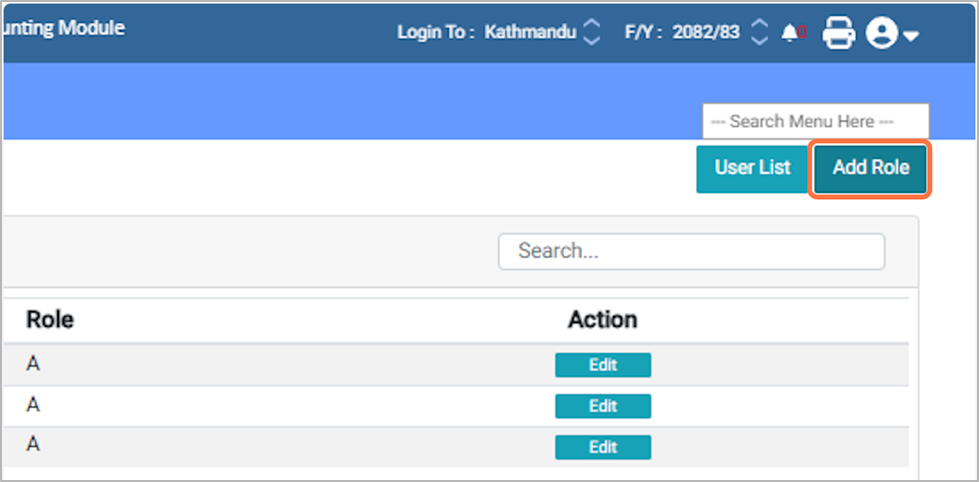
5. Click on Add Role
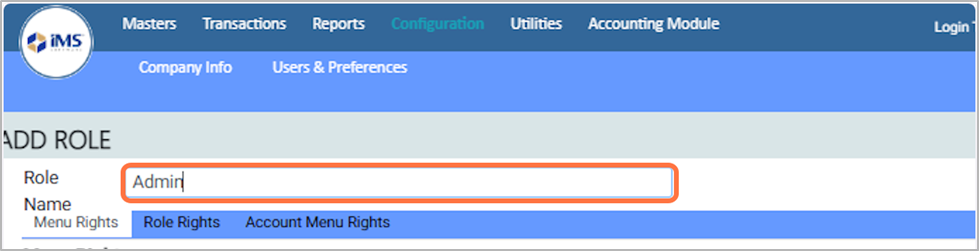
6. Enter the Role Name
I.e Supervisor, Operator, Manager, Admin etc
7. In the Menu Right section, assign Rights Tick the checkboxes for View, Add, Edit, Delete, and Print as needed for each corresponding feature.

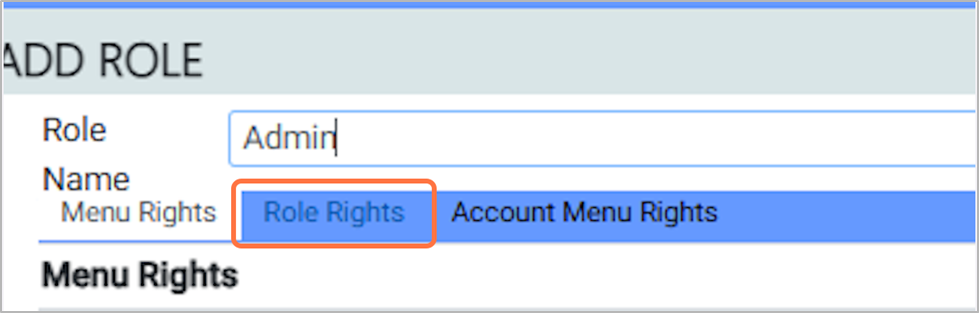
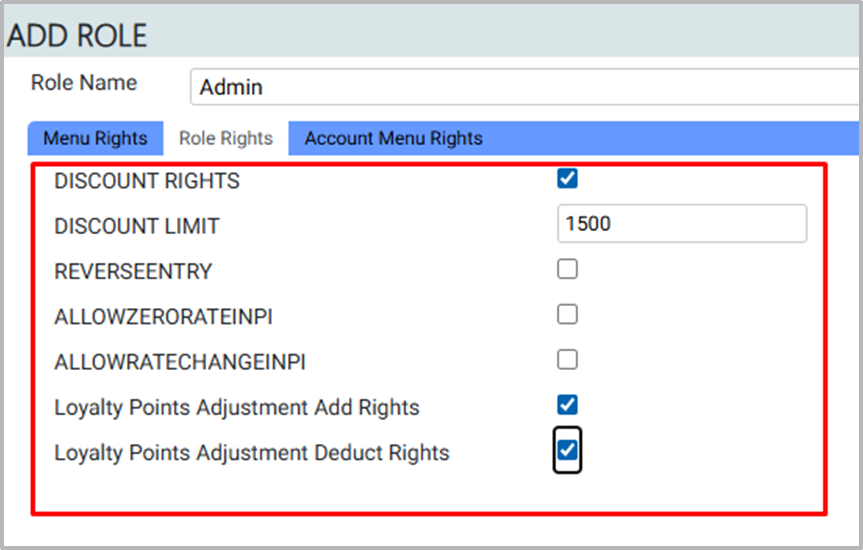
8. Click on the Role Rights
9. In the Role Rights section, set Permissions Tick the checkboxes under each corresponding heading as per your requirement, and set the Discount Limit as needed:
- Zero Rate in PI – Let users create invoices with zero rate.
- Sales Below Purchase Rate – Allow selling below purchase price.
- User Discount Limit – Set maximum discount a user can give.
- Sales Rate Change – Let users change the sales rate.
- Reverse Entry – Allow canceling or reversing an entry.
- Minus Stock – Allow selling even if stock is low.
- Credit Limit Authorization – Approve sales over customer credit limit.
- Rate Change in Barcode Printing – Change rate while printing barcodes.
- Show Graph Dashboard – Display graphs on the dashboard.
- Logout Concurrent Users – Log out users on multiple devices.
- Contract Price Below Purchase Rate – Allow contract price lower than purchase price.
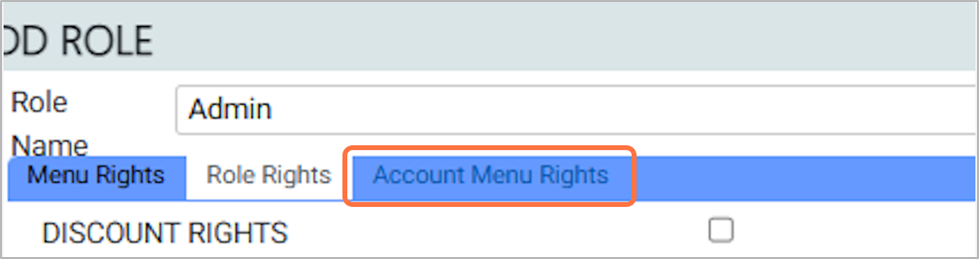
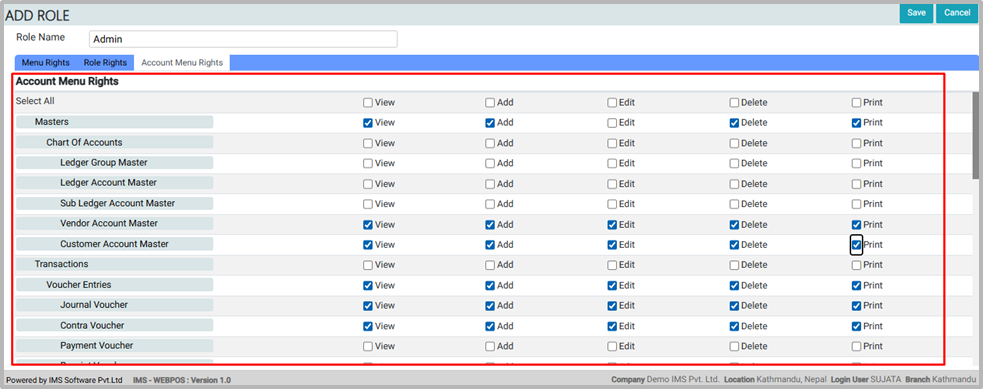
10. Click on the Account Menu Rights
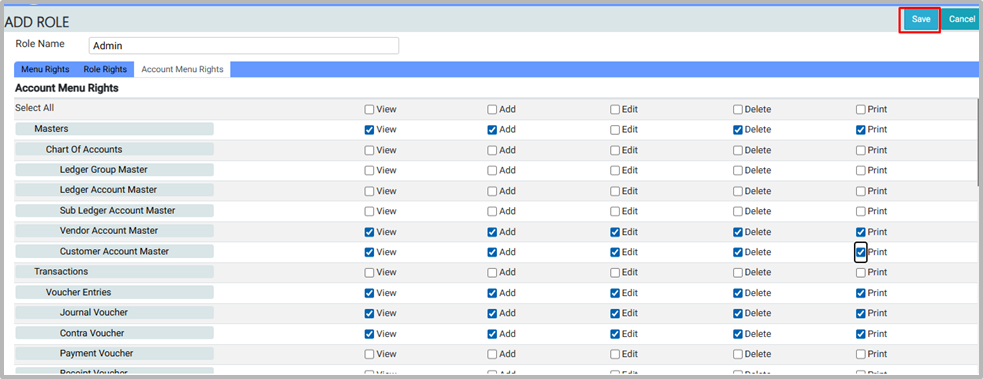
11. In the Account Menu Rights section Tick the checkboxes for View, Add, Edit, Delete, and Print as needed, based on the Voucher & features you want to enable.
12. Click Save to add the role and apply all the selected features and permissions.
13. You can view or edit roles from the Role List. The User Profile List displays details such as User Name, Role, Role Type, Branch, and Warehouse.
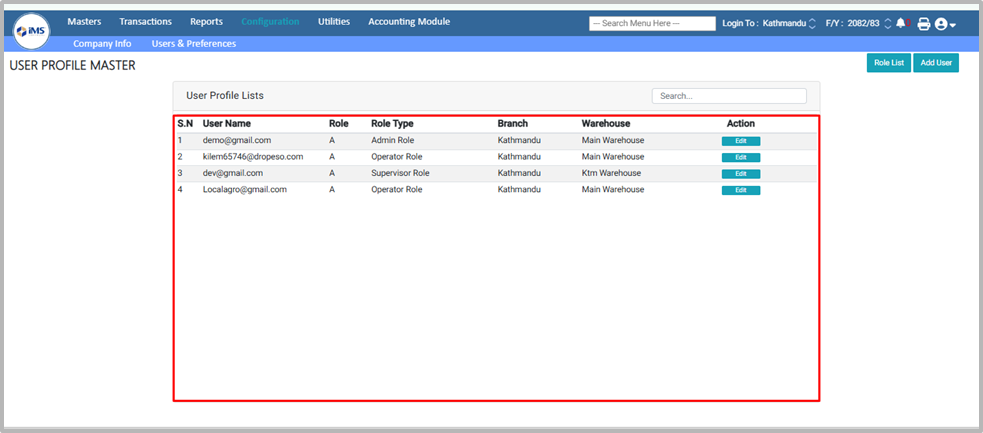
14. To edit the role, click the Edit button.

15. Click on User Name:In the User Information section, you can enter or update the following details:
- User Password
- Full Name
- Email
- Mobile Number
- Citizenship Number
- Role of the User
- Default Branch
- Default Warehouse
- Status of the User
Fields marked with a red asterisk (*) are compulsory and cannot be left blank.
Fields marked with a red asterisk (*) are compulsory and cannot be left blank.

16. In the User Rights section, tick the boxes according to your requirements.

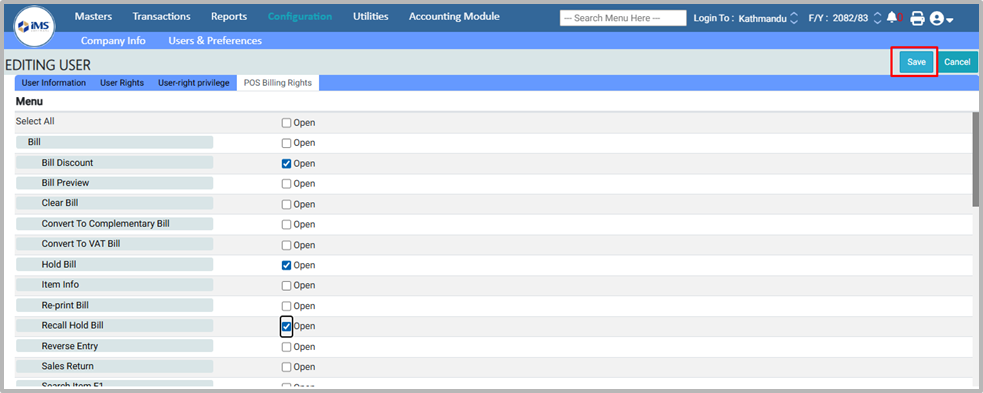
17. In the POS Billing section, read the available features and tick the checkboxes as per your requirements.
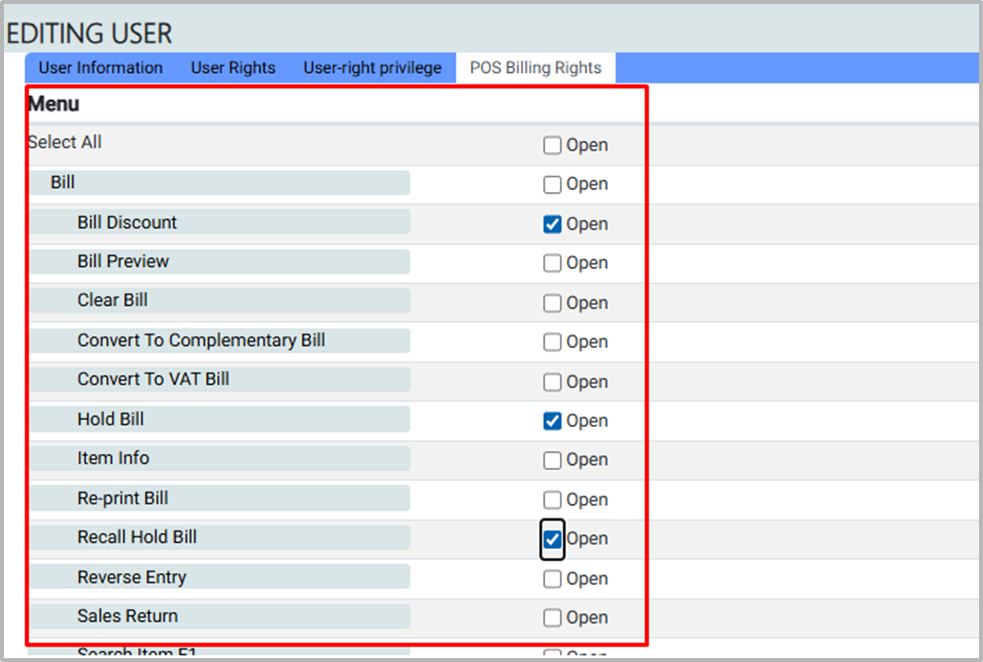
18. Click the Save button to apply the selected rights. Log out and log in again to enable the rights.