Customer groups are created by categorizing customers based on similar characteristics such as type, location, industry, purchase volume, or payment terms. This helps in better management, reporting, and analysis.
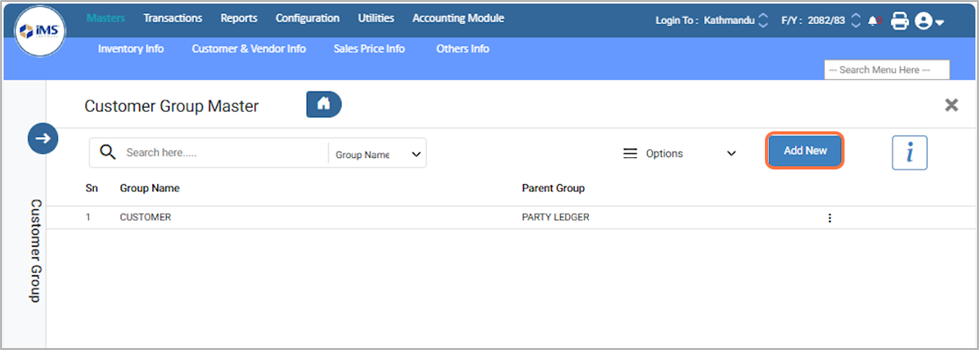
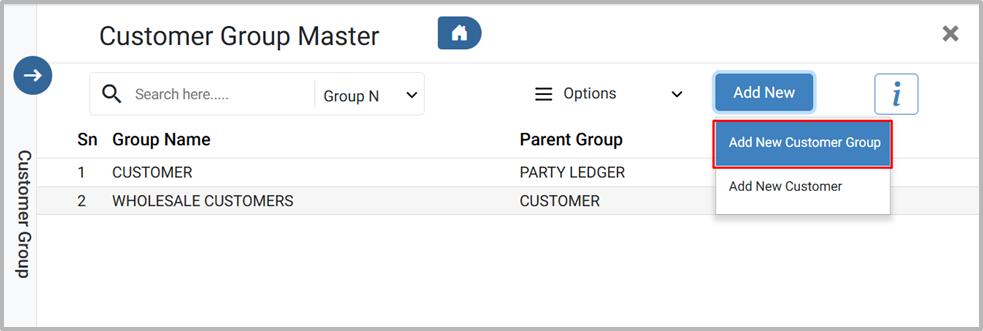
5. Select the Add New Customer Group button to add a customer group.
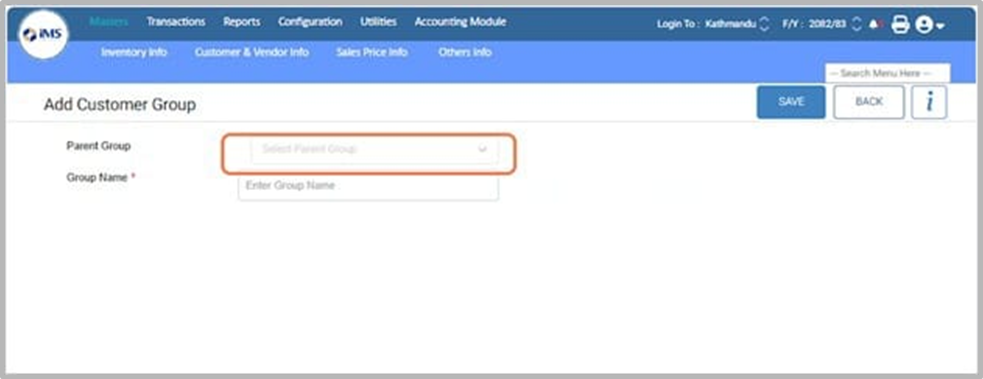
6. Select the parent group name to create a sub customer group under it. If no parent is selected, the system will automatically set “Customer” as the parent group.
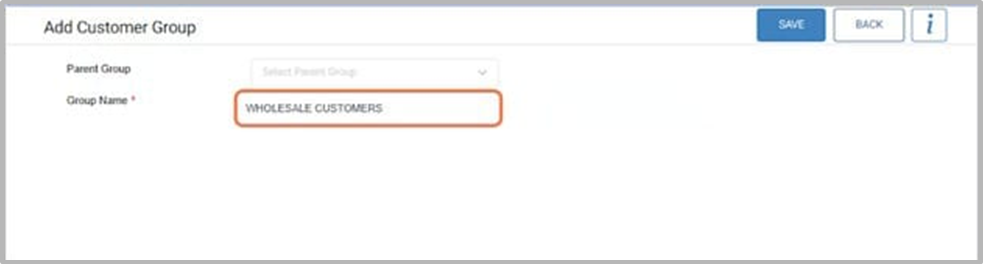
7. In the Group Name field, enter the customer group name, for example, Wholesale Customer.
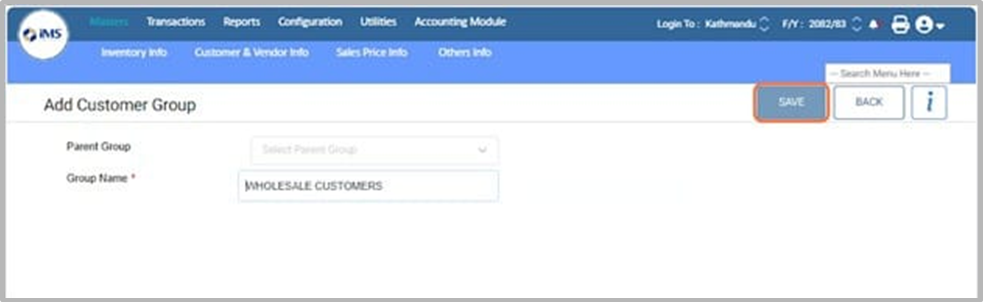
8. Click on SAVE button to save the Customer Group
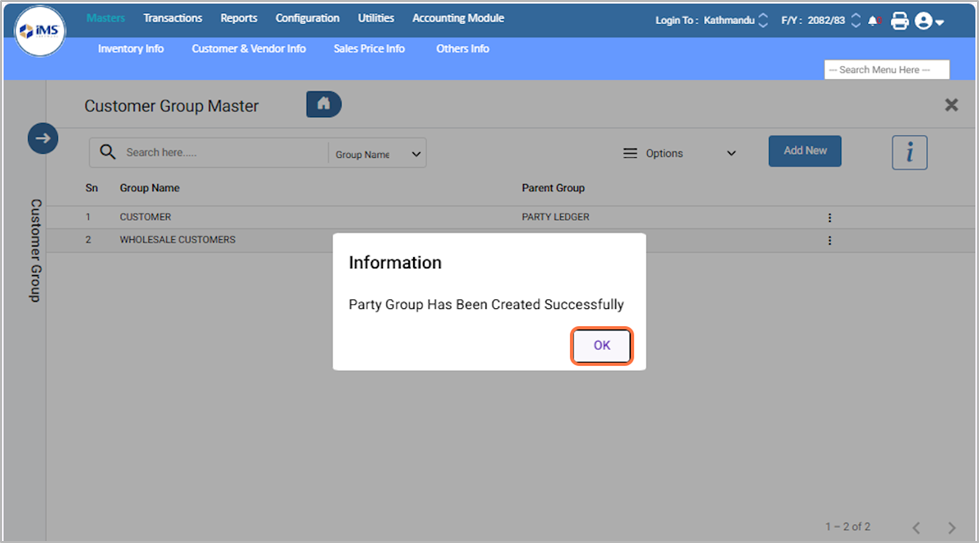
9. The system confirms that the party group has been created successfully. Click OK to continue.
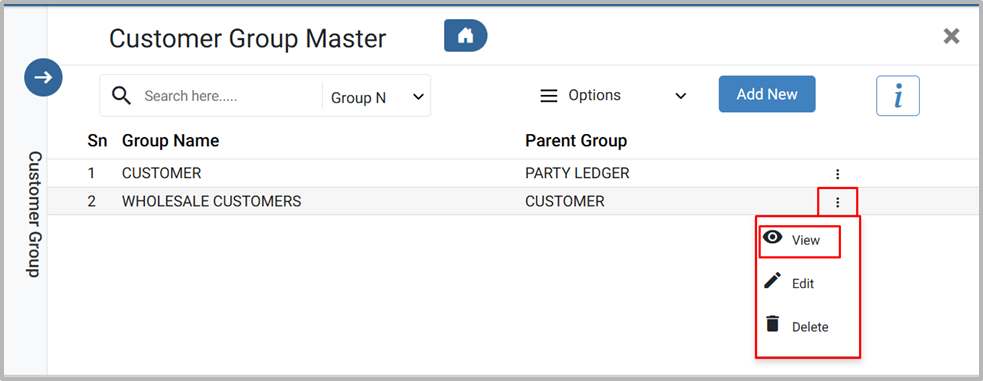
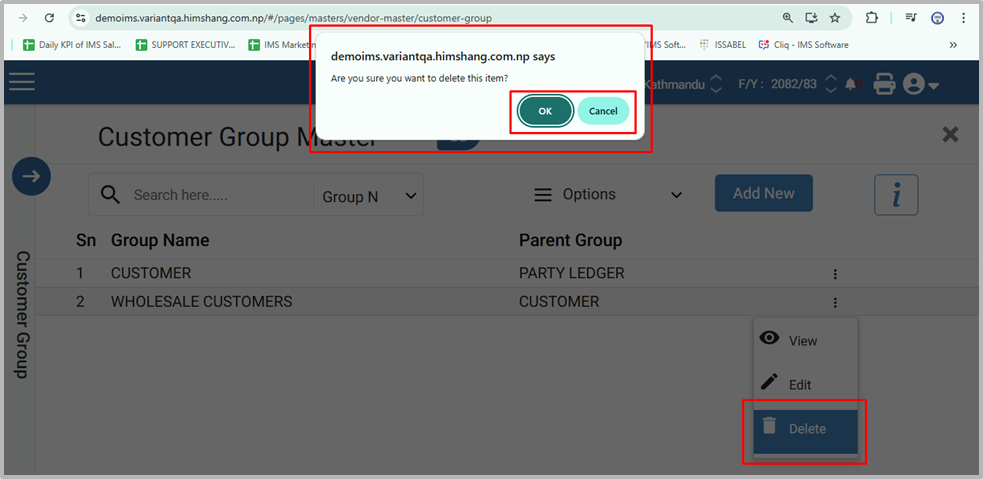
10. From the “Customer Group List,” you can view, edit, or delete a customer group. To view details, click the “View” button.
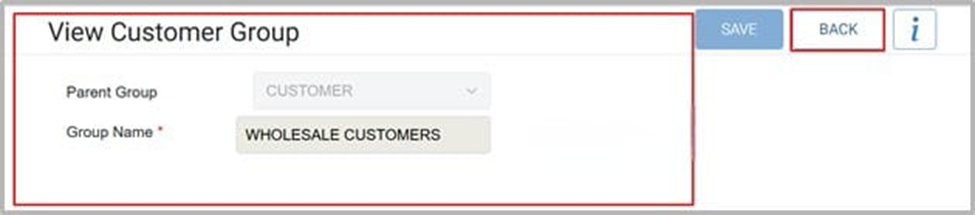
11. View the customer group details, then click the Back button to return to the previous screen.
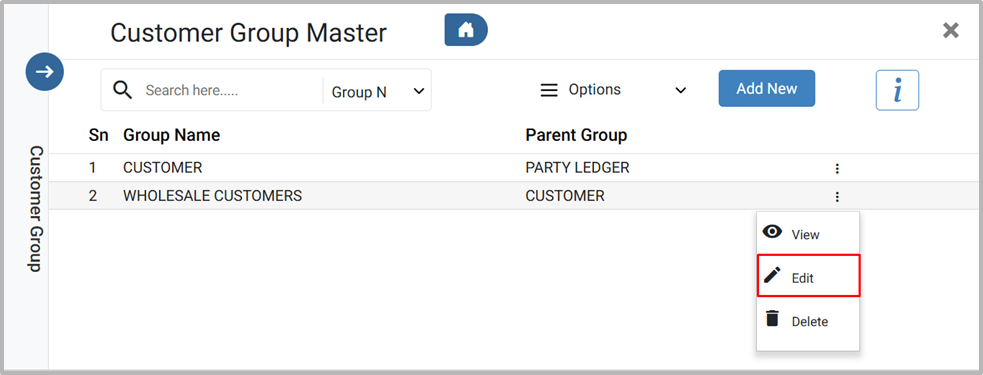
12. To edit the customer group details, click the Edit button.
13. From the edit screen, make the required changes and click the Save button to update the group.
14. Click the Delete button, When the confirmation message appears, click OK to confirm deletion or Cancel to cancel it.